How do I Upload My Product in the Seller Center?
Step 1: Login to your account in Shoppable Business and go to the Seller Panel section.

Step 2: Click the “Products” button > Products and hit the “+” sign button at the upper right side. Then hit “Create new product”.

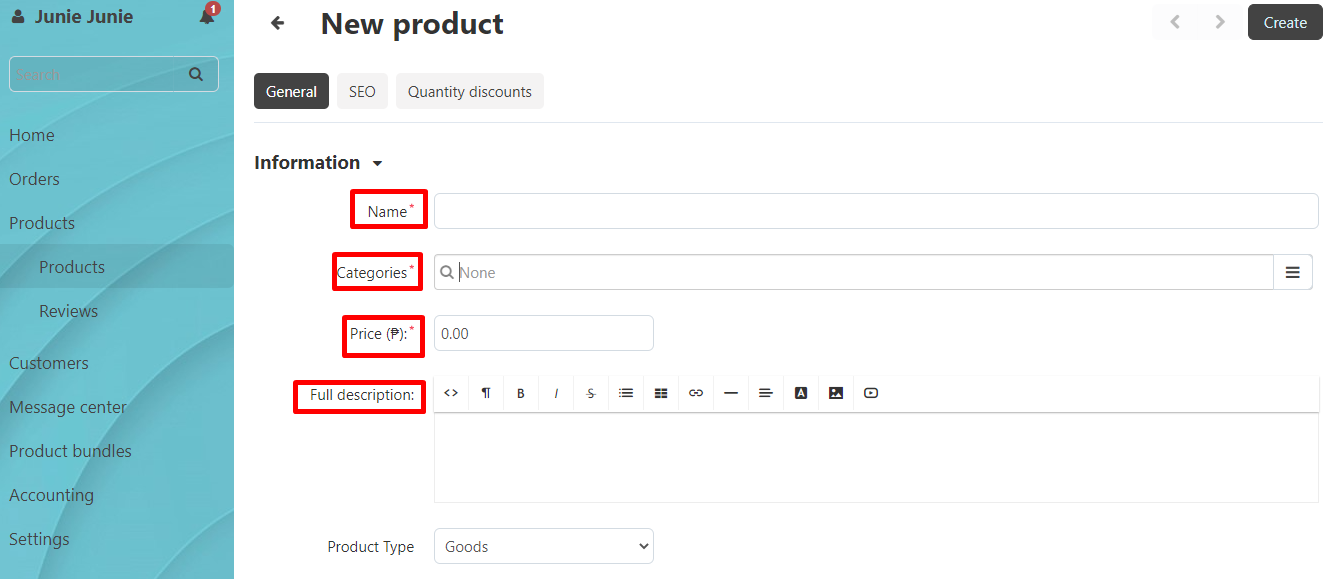
Step 3: Fill out all the information needed:
- Name – complete name of the product
- Categories – choose the specific category
- Price – should be VAT Inclusive
- Full Description – put all specs and description of the product. You can also input images with description
- Product Type – default as “Goods”
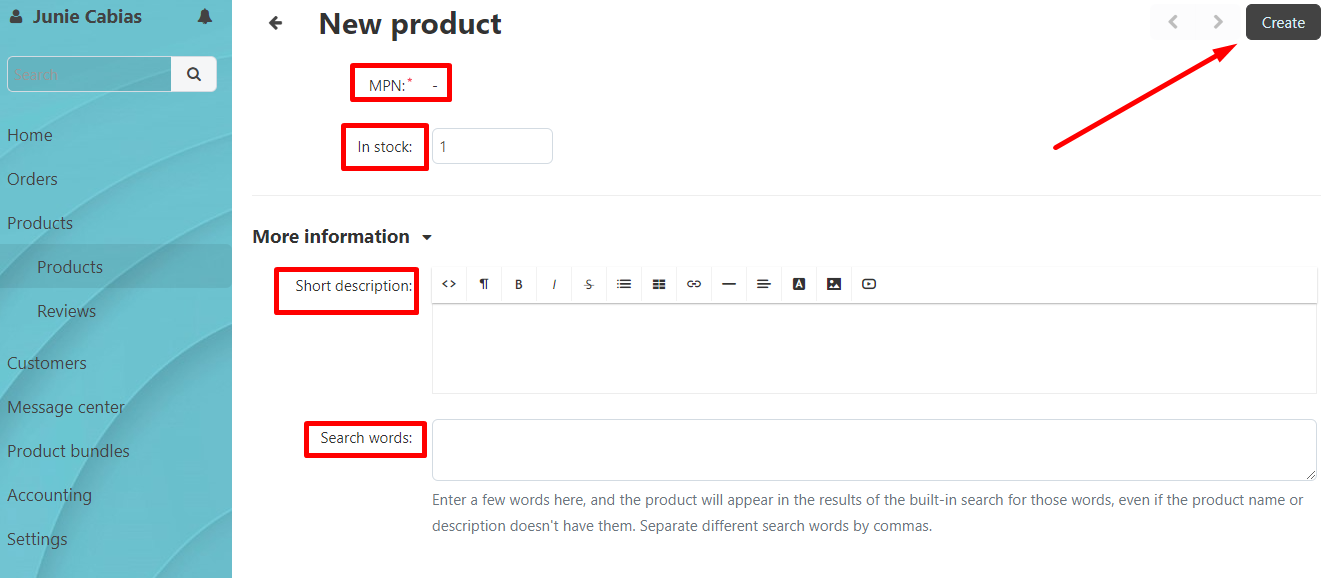
- Images – Always upload high quality images with white background. Minimum of 4 or more images
- MPN – required Manufacturer Part Number or product number. You may also put the SKU (stock-keeping unit). This can be done in Features once added to a new product
- In Stock – this should be updated all the time
- Short description -Use a short description paragraph to introduce the benefits of your product. Add a bulleted list of product features and the benefits they provide. Include any necessary technical details
- Search words – can put multiple shortcut options upon searching the product in Store front. Just put a comma to separate the search word shortcut. For example: Product name: Gigaware K28 Mechanical Gaming Keyboard 87 keys. You can put this format in the search word box: mechanical keyboard, gaming keyboard, gigaware keyboard, gaming keyboard 87 keys, etc.
Once done, click the “Create” button at the upper right corner as shown below.

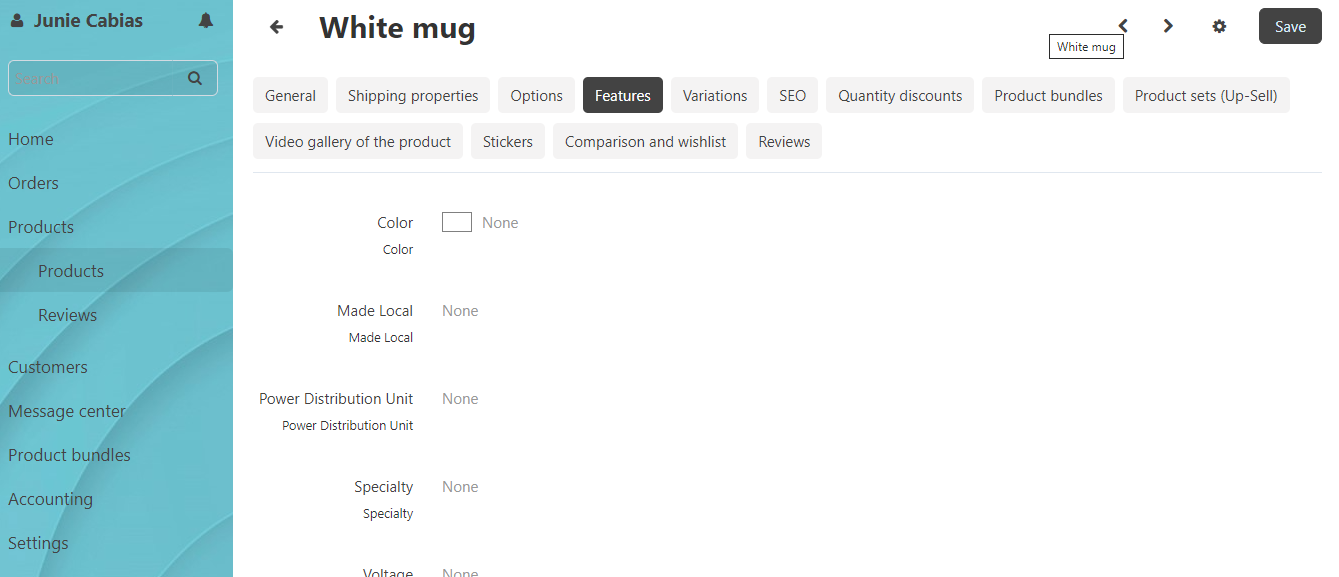
Step 4: Once created, you can add an additional features of the product as shown below:

You can add the following:
- Color – if available. If not, leave it blank.
- Brand – should be indicated as well.
- Model / MPN – if available.
- Size, weight, depth and length – if available
After adding features, you need to click the “Save” button located at the upper right.
Step 5: Wait for the confirmation email once the item is approved and can now be seen on the Shoppable website.

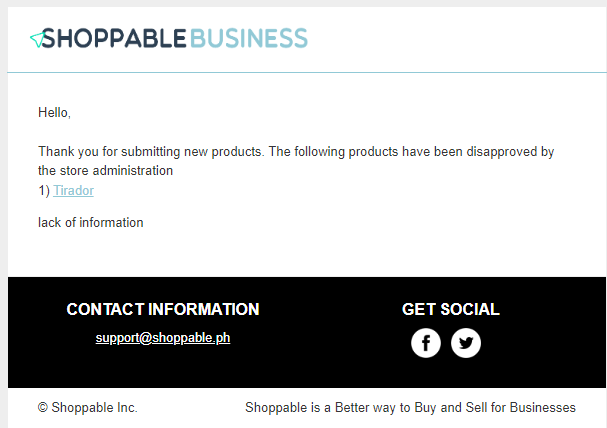
Step 6: If your product has been disapproved by the Administrator, you will receive an email as shown below. You may edit the product again and input the additional information needed.